Sau khi đã viết code với SPI hoạt động tốt giờ tới bước ghép code SPI vào thư viện FatFs để giao tiếp với thẻ nhớ.
Tải ví dụ mẫu của thư viện FatFs ở link dưới và giải nén ra thành thư mục ffsample:
http://elm-chan.org/fsw/ff/ffsample.zip
Mở thư mục generic sẽ thấy như hình
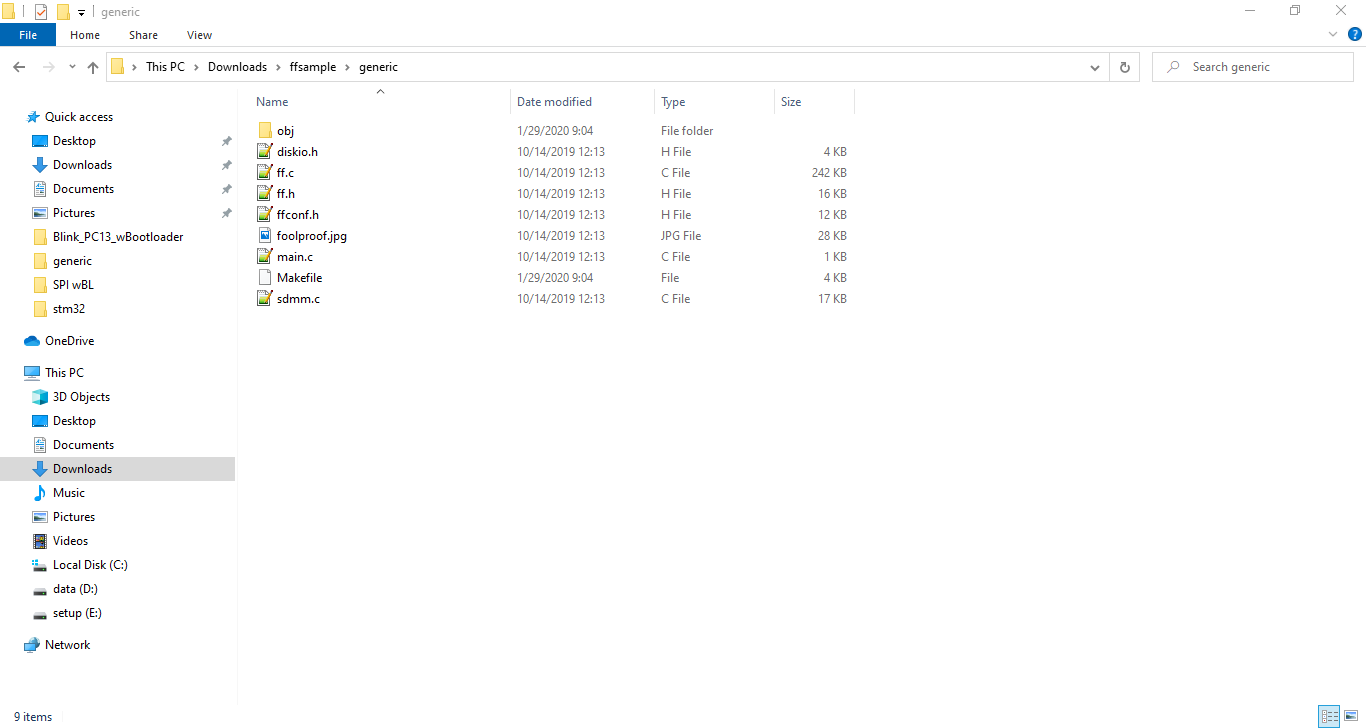
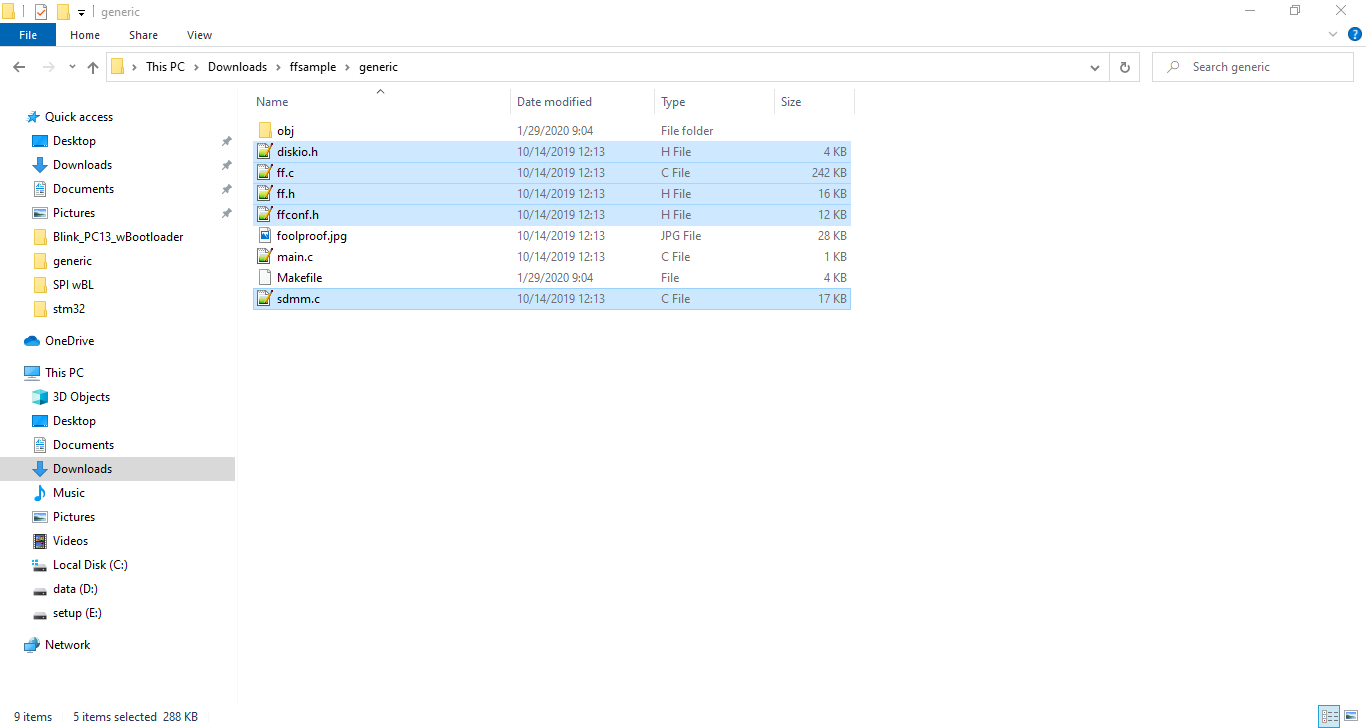
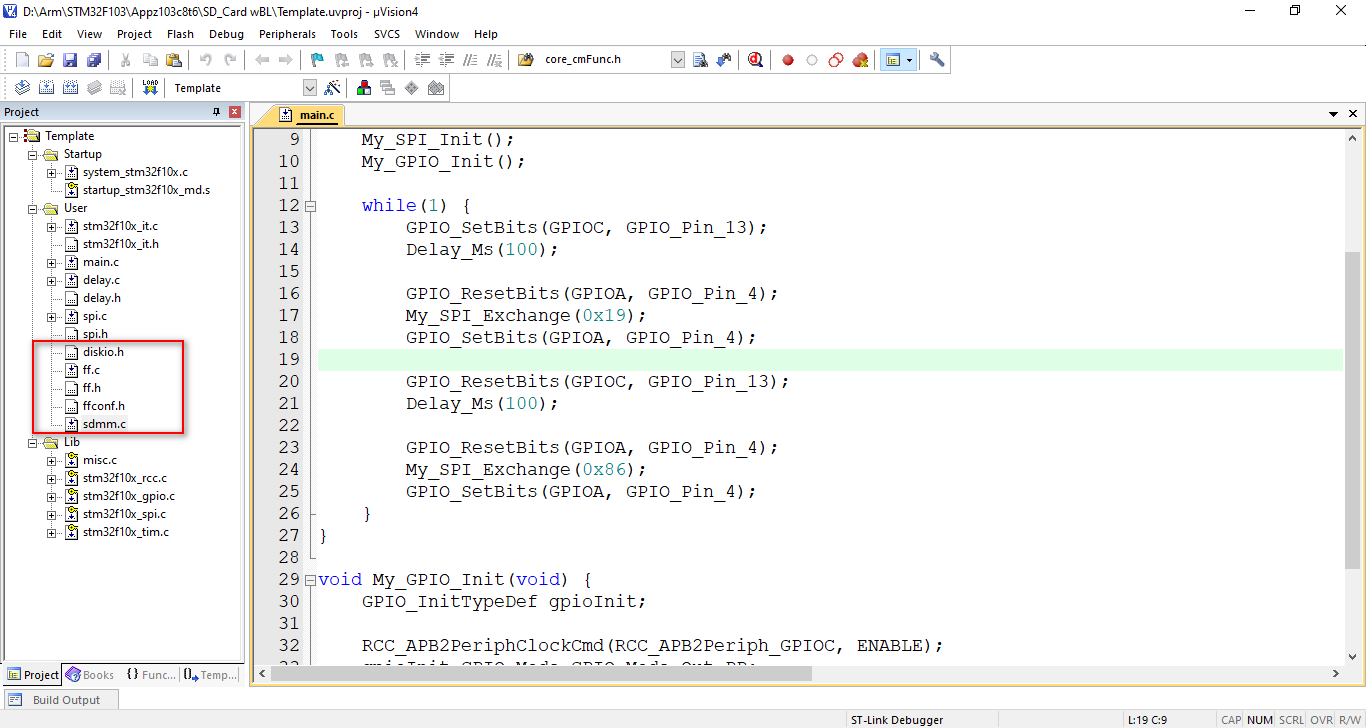
Copy 5 file và thêm vào Project SPI ở trước, các file là diskio.h ff.h ff.c ffconf.h sdmm.c
Mở file sdmm.c để sửa lại cho SD Driver sử dụng thư viện SPI của STM32.
Sửa lại dòng thứ 38 thành
#include "delay.h"
#include "spi.h"
Sửa lại 2 macro điều khiển chân CS của SPI thành
#define	CS_H()		GPIO_SetBits(GPIOA, GPIO_Pin_4)
#define CS_L()		GPIO_ResetBits(GPIOA, GPIO_Pin_4)
Sửa lại hàm void dly_us (UINT n) thành sử dụng hàm delay trong thư viện đã tạo ở trước
static
void dly_us (UINT n)	/* Delay n microseconds (avr-gcc -Os) */
{
	Delay_Us(n);
}
Sửa lại hàm truyền và nhận SPI: xmit_mmc rcvr_mmc
static
void xmit_mmc (
	const BYTE* buff,	/* Data to be sent */
	UINT bc				/* Number of bytes to send */
)
{
	BYTE d;


	do {
		d = *buff++;	/* Get a byte to be sent */
		My_SPI_Exchange(d);
	} while (--bc);
}

static
void rcvr_mmc (
	BYTE *buff,	/* Pointer to read buffer */
	UINT bc		/* Number of bytes to receive */
)
{
	do {
		*buff++ = My_SPI_Exchange(0xFF);			/* Store a received byte */
	} while (--bc);
}
Cuối cùng sửa lại hàm khởi tạo thẻ nhớ xóa 4 dòng khởi tạo SPI mềm có sẵn và thay bằng hàm khởi tạo SPI cứng.
DSTATUS disk_initialize (
BYTE drv /* Physical drive nmuber (0) */
)
{
BYTE n, ty, cmd, buf[4];
UINT tmr;
DSTATUS s;
if (drv) return RES_NOTRDY;
dly_us(10000); /* 10ms */
My_SPI_Init();
for (n = 10; n; n--) rcvr_mmc(buf, 1);
.....
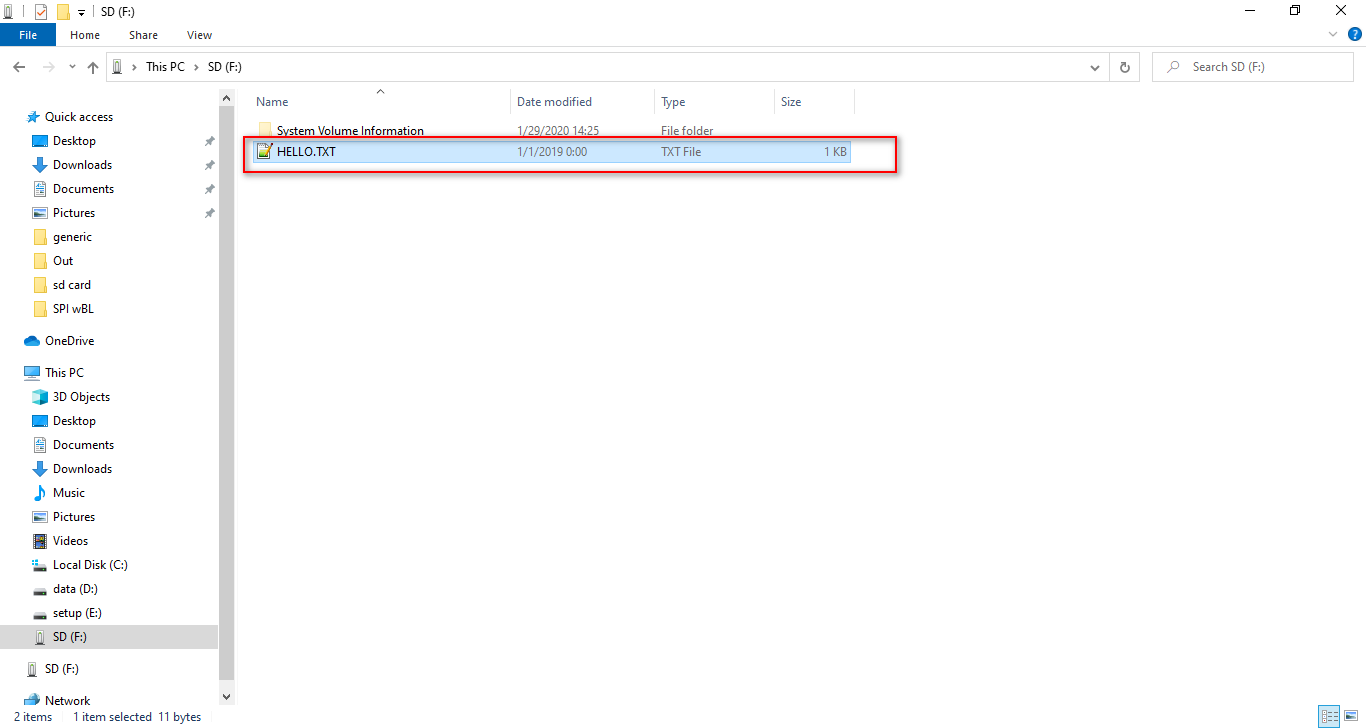
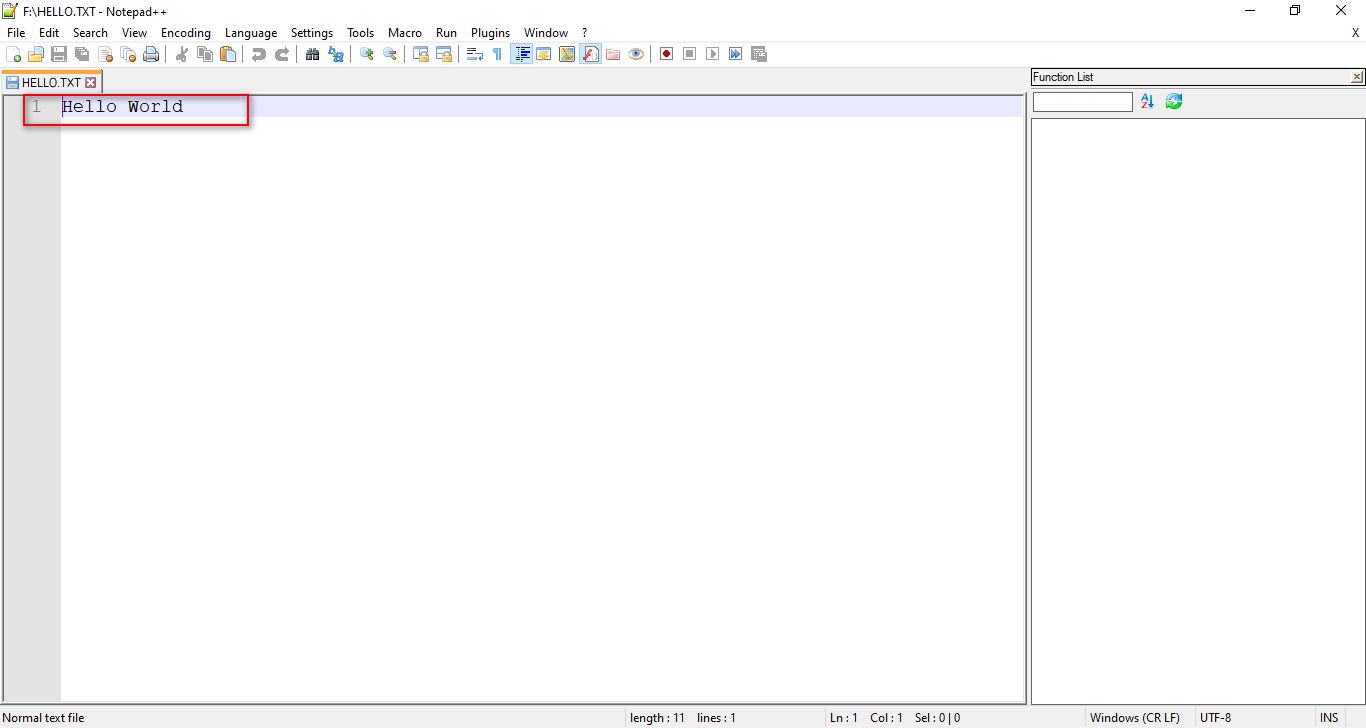
}Chương trình ví dụ sẽ tạo ra file Hello.txt và ghi Hello World vào file
file main.c
#include "stm32f10x.h"
#include "delay.h"
#include "ff.h"

FATFS FatFs;		/* FatFs work area needed for each volume */
FIL Fil;			/* File object needed for each open file */

void My_GPIO_Init(void);

int main() {
	UINT bw;
	FRESULT fr;

	Delay_Init();
	My_GPIO_Init();

	f_mount(&FatFs, "", 0);		/* Give a work area to the default drive */

	fr = f_open(&Fil, "Hello.txt", FA_WRITE | FA_CREATE_ALWAYS);	/* Create a file */
	if (fr == FR_OK) {
		f_write(&Fil, "Hello World", 11, &bw);	/* Write data to the file */
		fr = f_close(&Fil);							/* Close the file */
		if (fr == FR_OK && bw == 11) {		/* Lights green LED if data written well */
			while (1) {
				GPIO_SetBits(GPIOC, GPIO_Pin_13);
				Delay_Ms(100);
				GPIO_ResetBits(GPIOC, GPIO_Pin_13);
				Delay_Ms(100);
			}
		}
	}

	while(1) {
		GPIO_SetBits(GPIOC, GPIO_Pin_13);
		Delay_Ms(500);
		GPIO_ResetBits(GPIOC, GPIO_Pin_13);
		Delay_Ms(500);
	}
}

void My_GPIO_Init(void) {
	GPIO_InitTypeDef gpioInit;

	RCC_APB2PeriphClockCmd(RCC_APB2Periph_GPIOC, ENABLE);
	gpioInit.GPIO_Mode=GPIO_Mode_Out_PP;
	gpioInit.GPIO_Speed=GPIO_Speed_50MHz;
	gpioInit.GPIO_Pin=GPIO_Pin_13;
	GPIO_Init(GPIOC, &gpioInit);
}
Lấy một thẻ nhớ và Format theo định dạng FAT32, cắm vào KIT, chạy chương trình. Sẽ thấy thẻ nhớ có file Hello.txt và mở file này sẽ thấy dòng Hello World
Project:
https://drive.google.com/open?id=1Yz_S24WrYmItP4MZLaXKgwbk9UcCggZZ